Welcome to the Nest Thermostat User Guide PDF. This guide provides comprehensive instructions for installing, setting up, and using your Nest Thermostat. Learn how to optimize energy savings, control your thermostat remotely, and integrate it with smart home systems.

Key Features
The Nest Thermostat offers advanced energy-saving modes, voice control via Google Assistant, and seamless integration with smart home systems. It includes a Leaf feature for eco-friendly settings and compatibility with 95% of HVAC systems, ensuring efficient temperature management.
2.1 Energy-Saving Mode
The Nest Thermostat features an innovative Energy-Saving Mode designed to optimize your home’s energy consumption. This mode adjusts temperatures based on your schedule, preferences, and even your home’s occupancy. When no one is home, it automatically lowers or raises the temperature to conserve energy, ensuring you save on utility bills without sacrificing comfort. Additionally, the Nest Leaf icon appears whenever you set an energy-efficient temperature, providing visual feedback on your eco-friendly choices. This feature works seamlessly with the thermostat’s built-in sensors, which detect when your home is unoccupied and adjust settings accordingly. By integrating with the Google Home app, the thermostat can also use your phone’s location to enhance energy savings further. Overall, the Energy-Saving Mode makes it easy to reduce your environmental impact while maintaining a comfortable living space.
2.2 Voice Control
The Nest Thermostat offers seamless voice control integration, allowing you to adjust your home’s temperature effortlessly. Compatible with the Google Assistant, you can control your thermostat using voice commands through your smartphone, Nest speakers, or other compatible displays. Simply say, “Hey Google, turn up the heat,” or “Set the living room to 72 degrees,” and the Nest Thermostat will respond instantly. This feature is particularly convenient for times when you’re hands-free or across the room.
Voice control also works with the Google Home app, enabling you to manage your thermostat remotely. Whether you’re at home or away, you can use voice commands to check the current temperature, adjust settings, or switch between heating and cooling modes. The Nest Thermostat’s compatibility with smart home systems enhances its functionality, making it a versatile and user-friendly solution for modern homes. With voice control, you can enjoy a smarter, more accessible way to regulate your home’s climate.

System Compatibility
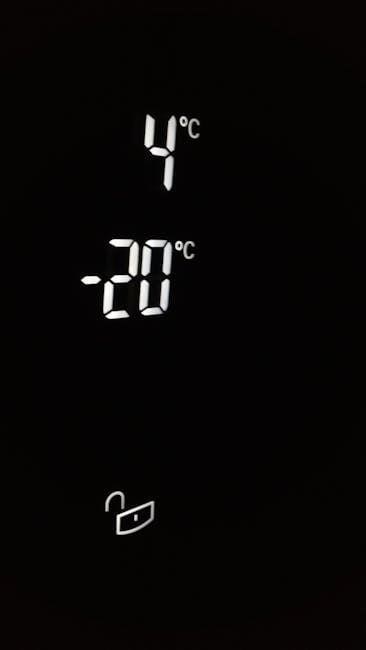
The Nest Thermostat is compatible with over 95% of 24V heating and cooling systems, including gas, electric, and oil. It works without a C wire in most cases, though professional installation is recommended if one is needed.
3.1 Checking Compatibility
Before installing the Nest Thermostat, ensure it is compatible with your heating and cooling system. The thermostat works with over 95% of 24V systems, including gas, electric, oil, and solar. Most systems do not require a C wire, but professional installation is recommended if one is needed.
To verify compatibility, use Nest’s online tool or consult the Nest Thermostat User Guide PDF. This guide provides detailed instructions for checking system requirements, such as voltage and wiring configurations. If unsure, consult a licensed HVAC professional to avoid installation issues.
Additionally, the guide explains how to identify your system type and wiring setup. This step is crucial for a smooth installation and ensures the thermostat functions properly. Always refer to the official compatibility checker or manual for accurate information.

Installation Process
The Nest Thermostat installation involves turning off power, removing the old thermostat, and labeling wires. Mount the base, attach the thermostat, and follow the in-app guide. Ensure all connections are secure for proper functionality. Always refer to the manual for detailed instructions.
4.1 Preparing for Installation
Before installing your Nest Thermostat, ensure you have everything ready for a smooth process. Start by checking compatibility using Nest’s online tool to confirm it works with your HVAC system. Gather necessary tools like a screwdriver, wire labels, and a ladder if needed. Turn off the power to your heating and cooling system at the circuit breaker. Remove the old thermostat carefully, taking photos of the wiring for reference. Handle the wires gently to avoid damage. If your system lacks a C-wire, note that the Nest Thermostat can still function but may require additional setup. Read the manual to understand the components and wiring diagram. Ensure your Wi-Fi network is accessible for later connectivity. If unsure, consider consulting a professional. Proper preparation ensures a trouble-free installation and optimal performance of your smart thermostat.
4.2 Step-by-Step Instructions

To install your Nest Thermostat, follow these careful steps. First, mount the Nest Base to the wall using the provided screws and trim plate. Ensure it is level and securely fastened. Next, connect the wires to the corresponding terminals on the base, referencing the wiring diagram from the Google Home app. Turn the power back on at the circuit breaker and test the system to ensure it functions properly; Once the base is installed, attach the Nest Thermostat to it by aligning the pins and gently pushing until it clicks into place. Use the Google Home app to complete the setup, selecting your HVAC system type and configuring preferences. If no C-wire is present, the thermostat may require alternative power setup. Finally, test all modes (heat, cool, auto) to ensure everything works correctly. If issues arise, consult the troubleshooting section or contact support. Proper installation ensures optimal performance and energy efficiency.
Setup and Configuration
After installation, set up your Nest Thermostat by creating a Nest Account and connecting it to Wi-Fi. Use the Google Home app to configure settings, enable voice control, and customize energy-saving preferences. This ensures seamless integration and remote access for optimal performance.
5.1 Creating a Nest Account
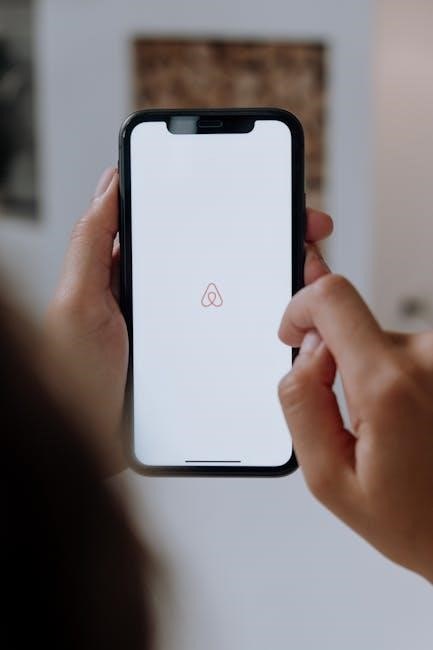
To fully utilize your Nest Thermostat, creating a Nest Account is essential. Visit nest.com or download the Nest app to sign up. This account allows you to control your thermostat remotely, access energy reports, and enable smart features. During setup, your thermostat will automatically connect to your account once linked to Wi-Fi. Ensure your account is secure with a strong password. If you already have a Google account, you can use it to streamline the process. The Nest app also offers guided instructions to help you complete the setup seamlessly. Once your account is active, you can explore advanced features like scheduling, energy-saving modes, and voice control integration. This step is crucial for unlocking the full potential of your smart thermostat and ensuring a personalized experience tailored to your home’s needs.
5.2 Connecting to Wi-Fi
Connecting your Nest Thermostat to Wi-Fi is a straightforward process that enables remote control and smart features. Start by powering on your thermostat and selecting your home’s Wi-Fi network from the available options. Enter your network password using the thermostat’s interface or the Nest app. If prompted, allow the thermostat to update its software to ensure compatibility.
Once connected, your thermostat will link to your Nest Account, enabling features like remote temperature adjustments and energy usage tracking. For troubleshooting, ensure your Wi-Fi network is stable and that you’re entering the correct password. If issues persist, restart your router and thermostat, then try reconnecting.
The Nest app will confirm successful Wi-Fi connection, allowing you to manage your thermostat from your smartphone or tablet. A stable internet connection is essential for features like voice control and energy-saving modes. If you change your Wi-Fi network, repeat the connection process to maintain functionality. This step ensures seamless integration into your smart home system.
The Nest Thermostat is a powerful tool for managing your home’s climate efficiently. By following the steps outlined in this guide, you’ve successfully set up and configured your device to optimize energy savings and enhance comfort. The thermostat’s ability to learn your schedule and preferences, combined with its smart features like voice control and remote access, makes it a valuable addition to any home.
For further assistance, refer to the Nest app or visit the official support page. Regular software updates ensure your thermostat stays up-to-date with the latest features and improvements. If you encounter any issues, troubleshooting guides and customer support are readily available.
By leveraging the Nest Thermostat’s capabilities, you can reduce energy consumption while maintaining a comfortable living environment. Explore advanced settings and features to maximize your experience. Remember to periodically check for updates and maintain your system for optimal performance. With the Nest Thermostat, you’re taking a smart step toward a more energy-efficient home.